How to use Markers
Markers allow you to organize your envelopes by category, making it easier to view and batch sign related documents.
With this feature, you can group multiple envelopes under the same marker and manage them from a single screen.
Follow the steps below to understand how to use Markers.
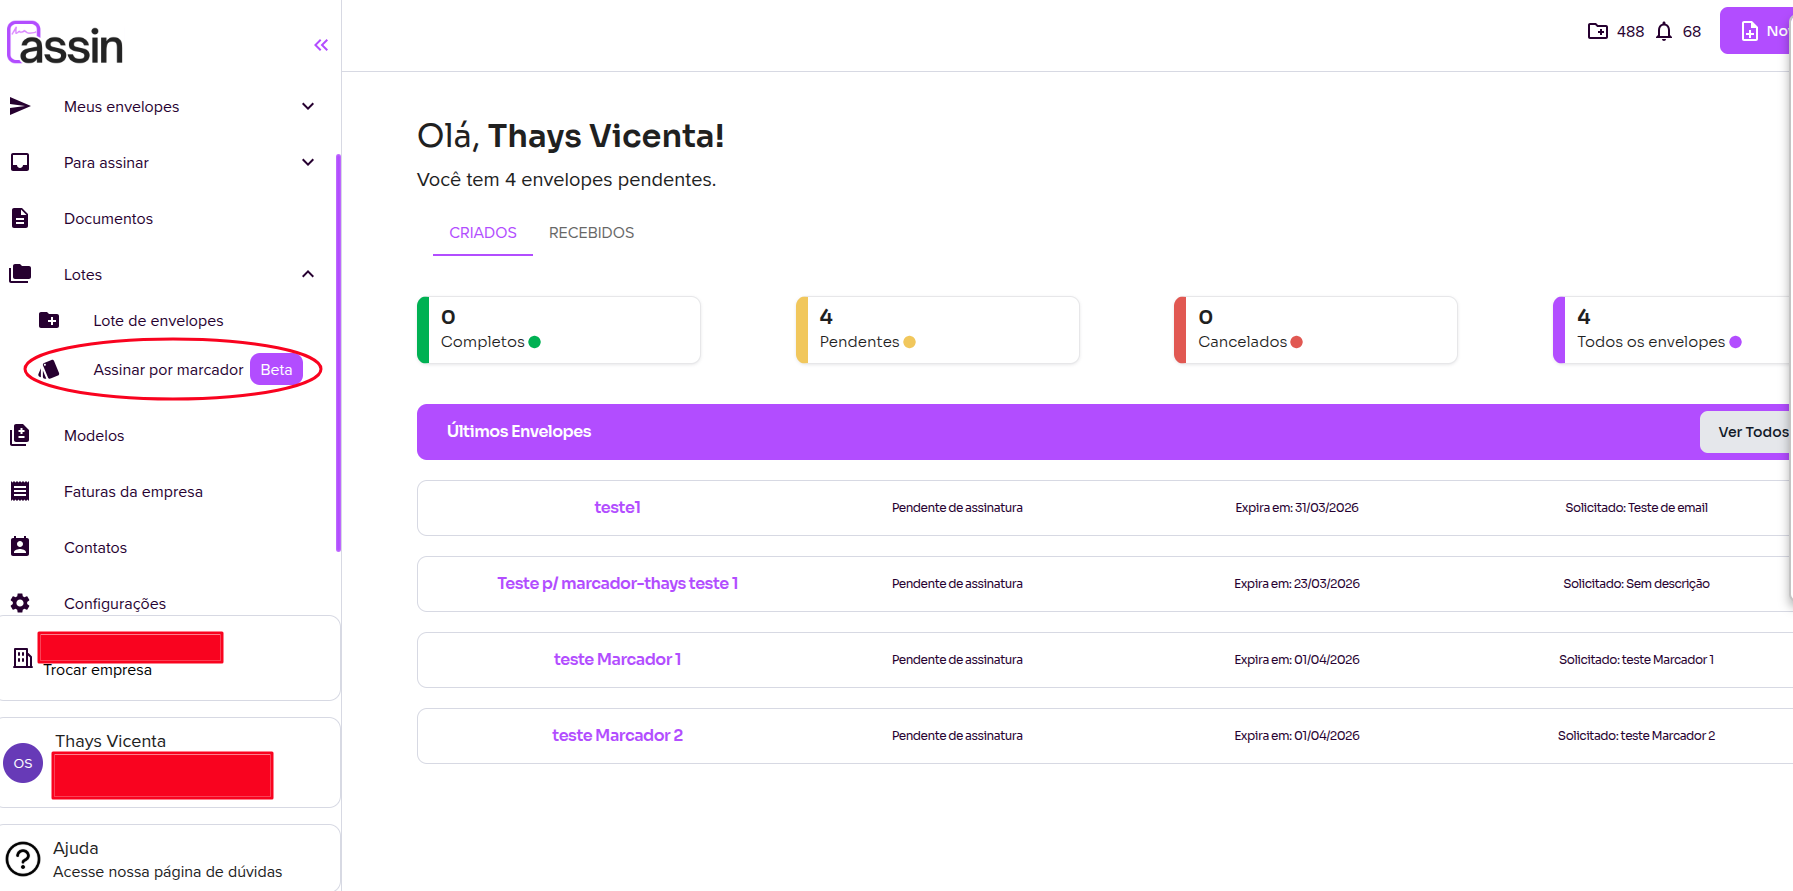
1. To get started, access the side menu and click on the Batches option. Then select Sign by marker.
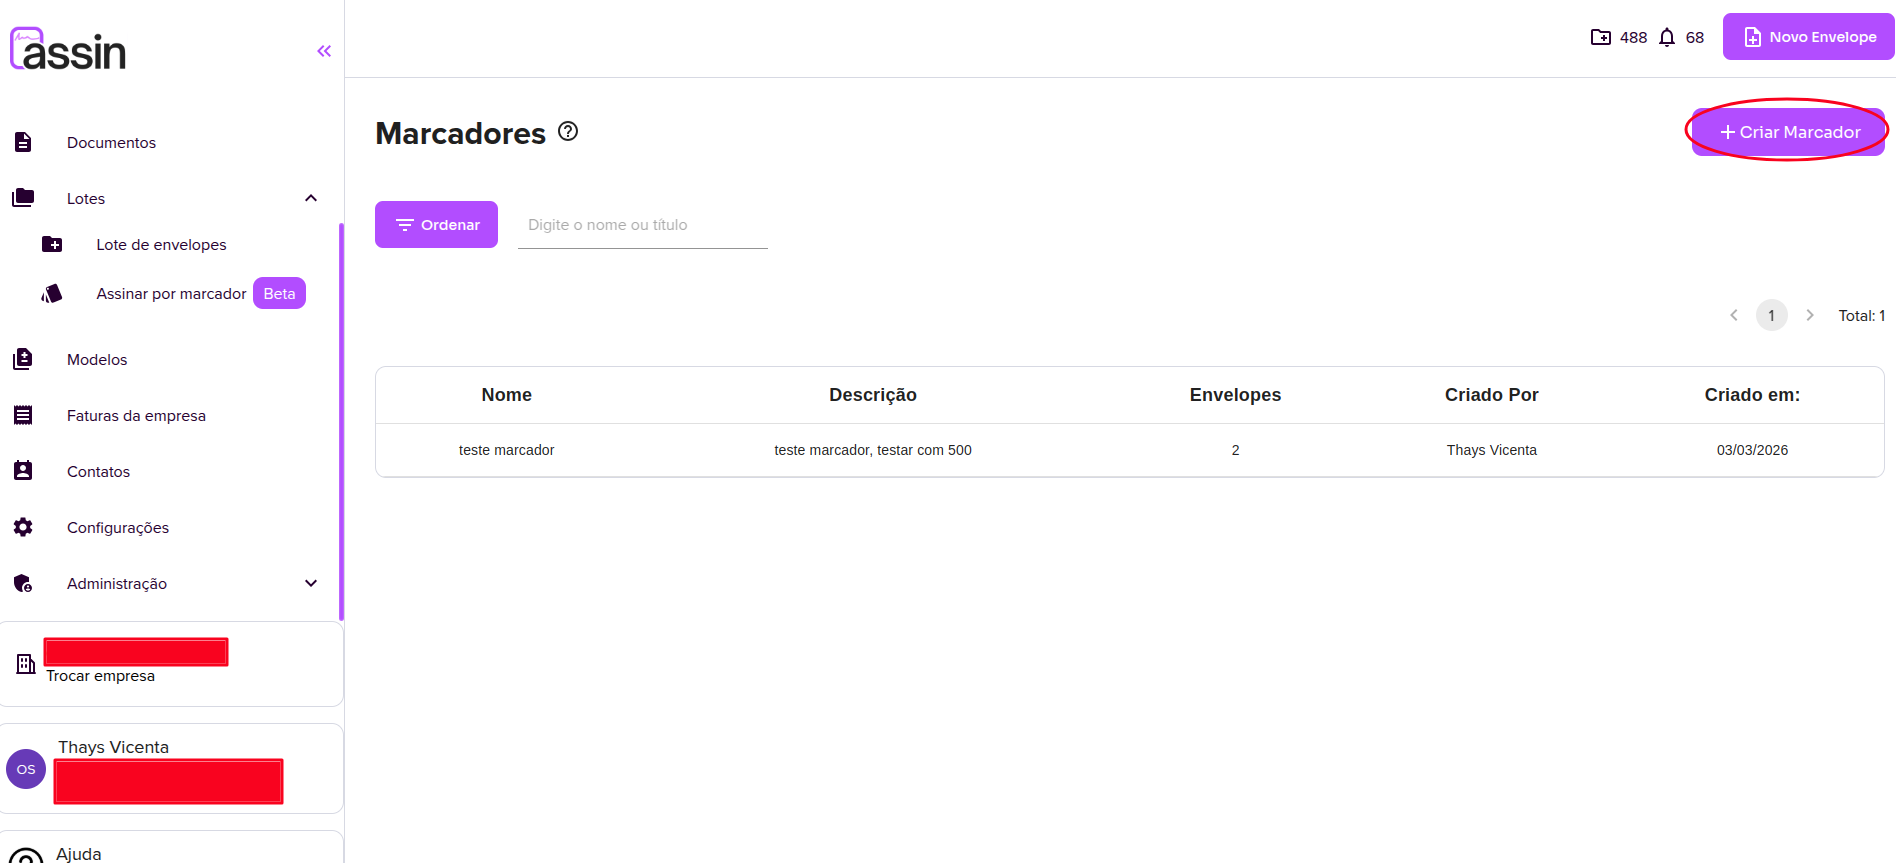
2. After clicking on Sign by marker, you will be directed to the Markers page. On this screen, you can view all previously created markers, as well as the number of envelopes linked to each one.
In the upper right corner of the screen, click on + Create marker to add a new marker.
3. After clicking on Create marker, a form will be displayed. You must provide:
- Name (required)
- Description (required)
Fill in the fields correctly and click Continue to proceed.

Now that you know how to use Markers and what they are for, it’s much easier to organize your envelopes!
For more information, visit our website https://assin.com.br/
See how simple Assin is?
Assin Digital Signature
Was this article helpful?
Thanks for your feedback!