Envelope creation
Learn how an envelope is created on the Assin platform and how documents can be sent for digital signature quickly, securely, and with legal validity.
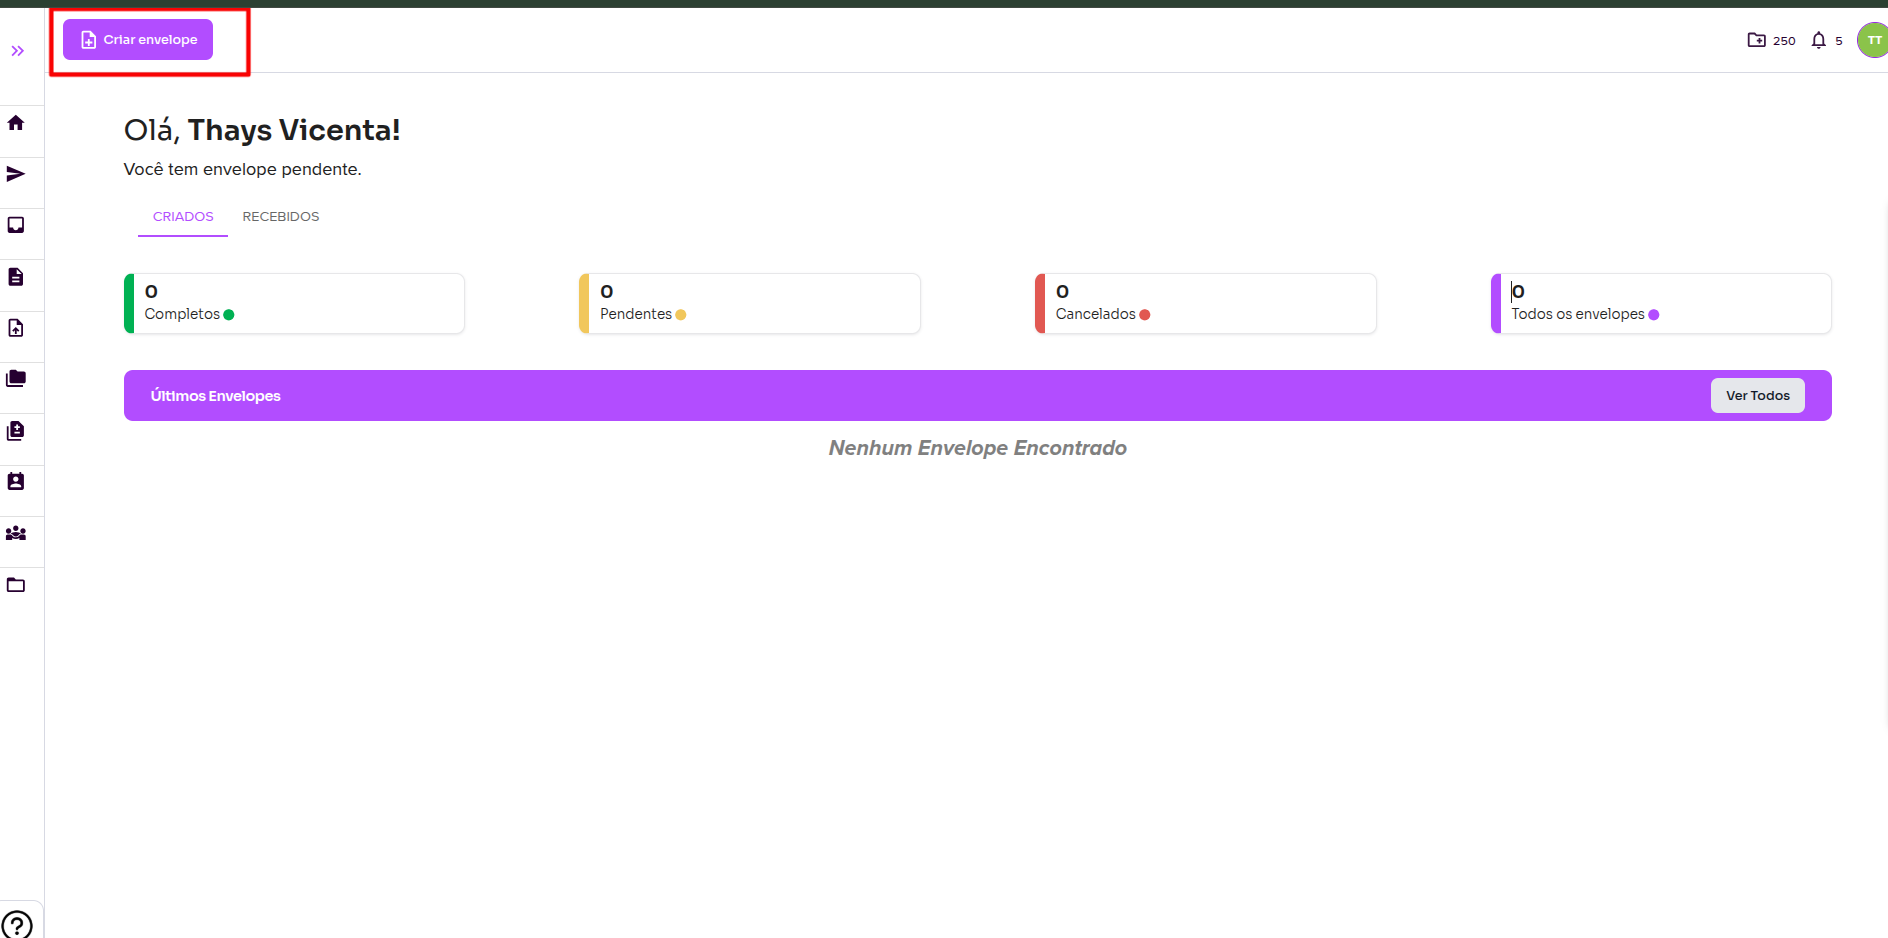
1. In the top menu on the left, look for the “New Envelope” button
2. A form will appear to enter the envelope title and description. After filling in this information, you can choose to sign the document with ICP. By default, all our documents use blockchain technology to ensure security throughout the entire process.
To understand how the marker works, visit: Marcador
When you enable the automatic email resend option, signatories will receive recurring reminders at the specified intervals until they complete the signing process. If you have any questions, visit Notification Resend
To create an envelope, a variable number of credits is deducted. To learn more, visit: Where can I use my credits? and Buy additional credits.

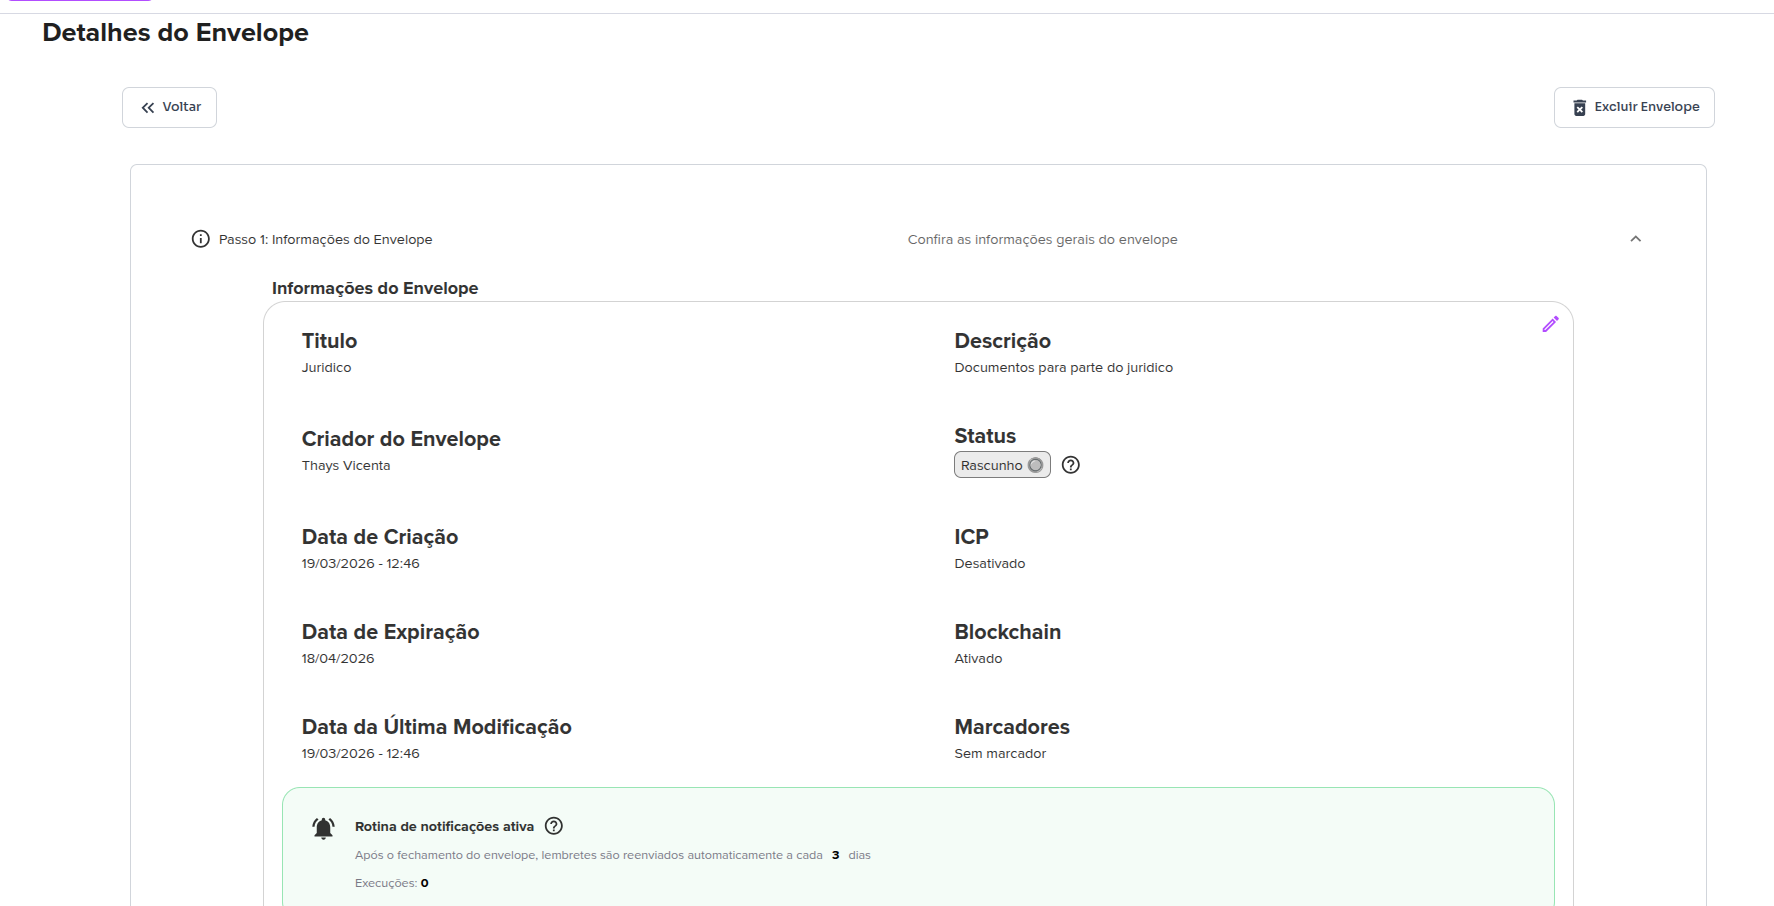
3. After that, you will be redirected to a screen with all the information about your newly created envelope, which currently has a draft status. You can edit it by clicking the pencil icon on the right side. On this screen, you can also add your signer(s) and file(s).
Add signer
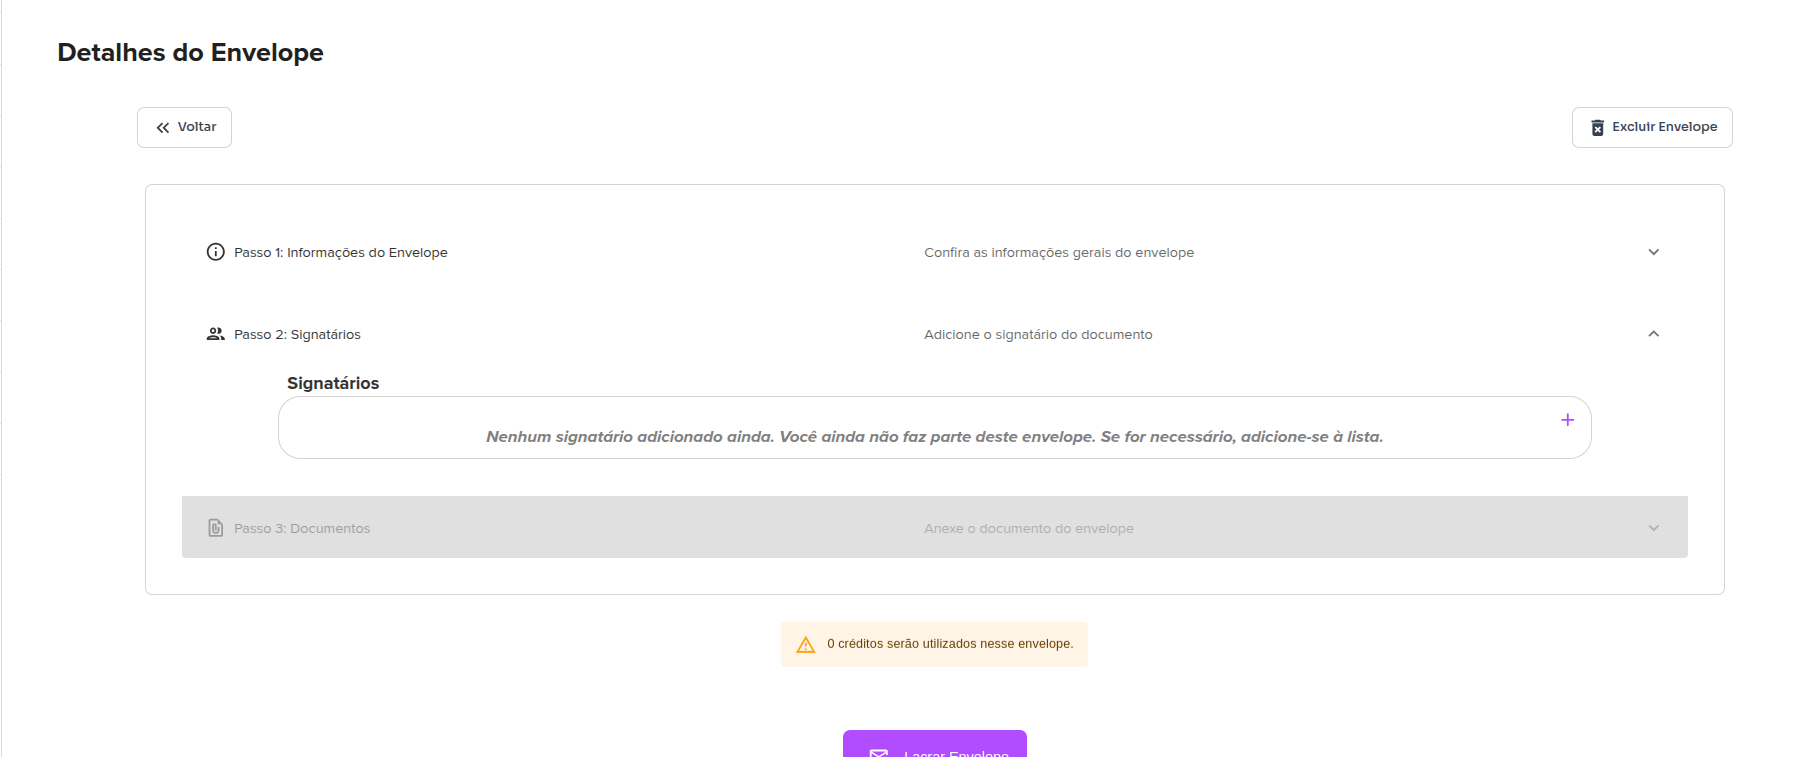
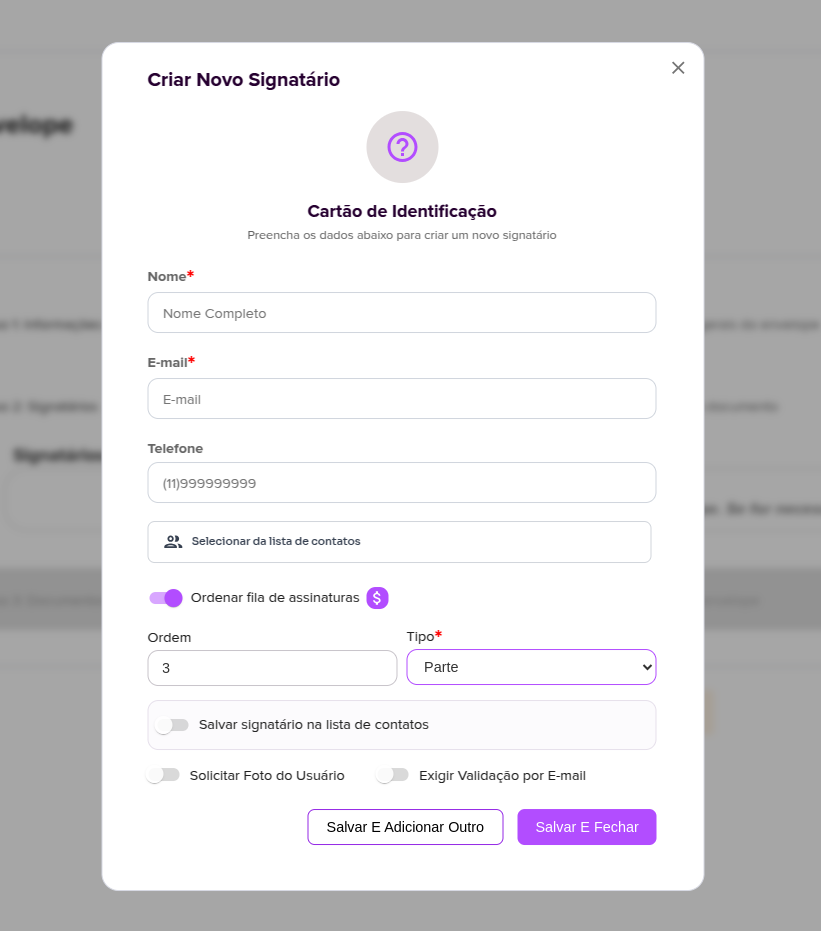
4. To add a signatory, click the “+” button on the right-hand side. A form will open where you must fill in:
- Nome completo
- Telefone (opcional)
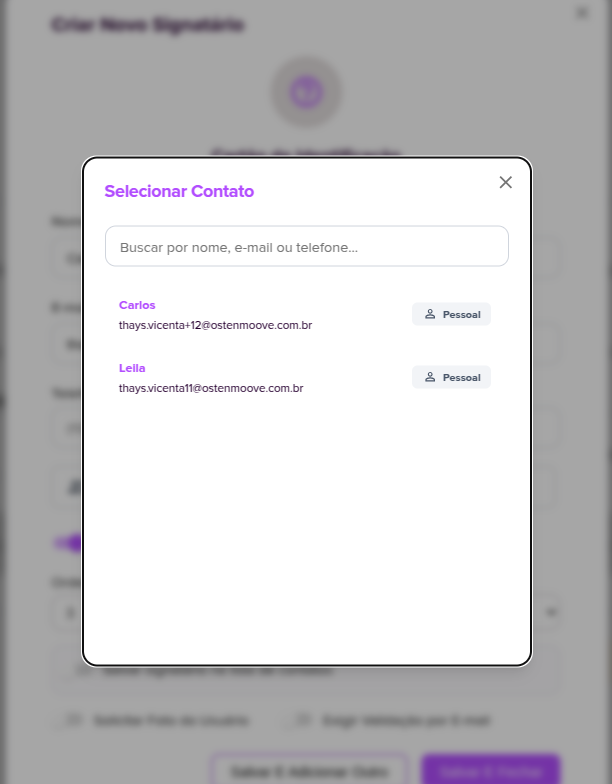
You can also select an existing contact by clicking “Selecionar da lista de contatos”, which makes it easier to auto-fill the information.
In addition, the following options are available:
- Ordenar fila de assinaturas: when enabled, this allows you to set the order in which signers will sign the document.
- Tipo: defines the signer’s role (e.g., Party).
- Salvar signatário na lista de contatos: when enabled, the entered data will be saved for future use.
- Solicitar foto do usuário: requires the signer to upload a photo at the time of signing.
- Exigir validação por e-mail: adds an email verification step before signing.
The option to sort the signature queue is disabled by default. This means that all signers will have the same priority (order 0) and will be able to sign simultaneously.
When you enable this option, you can set the signing order. The count starts at 0 (first to sign), and you can assign the same order to more than one signer.
If you prefer, you can add signatories directly from your contact list:
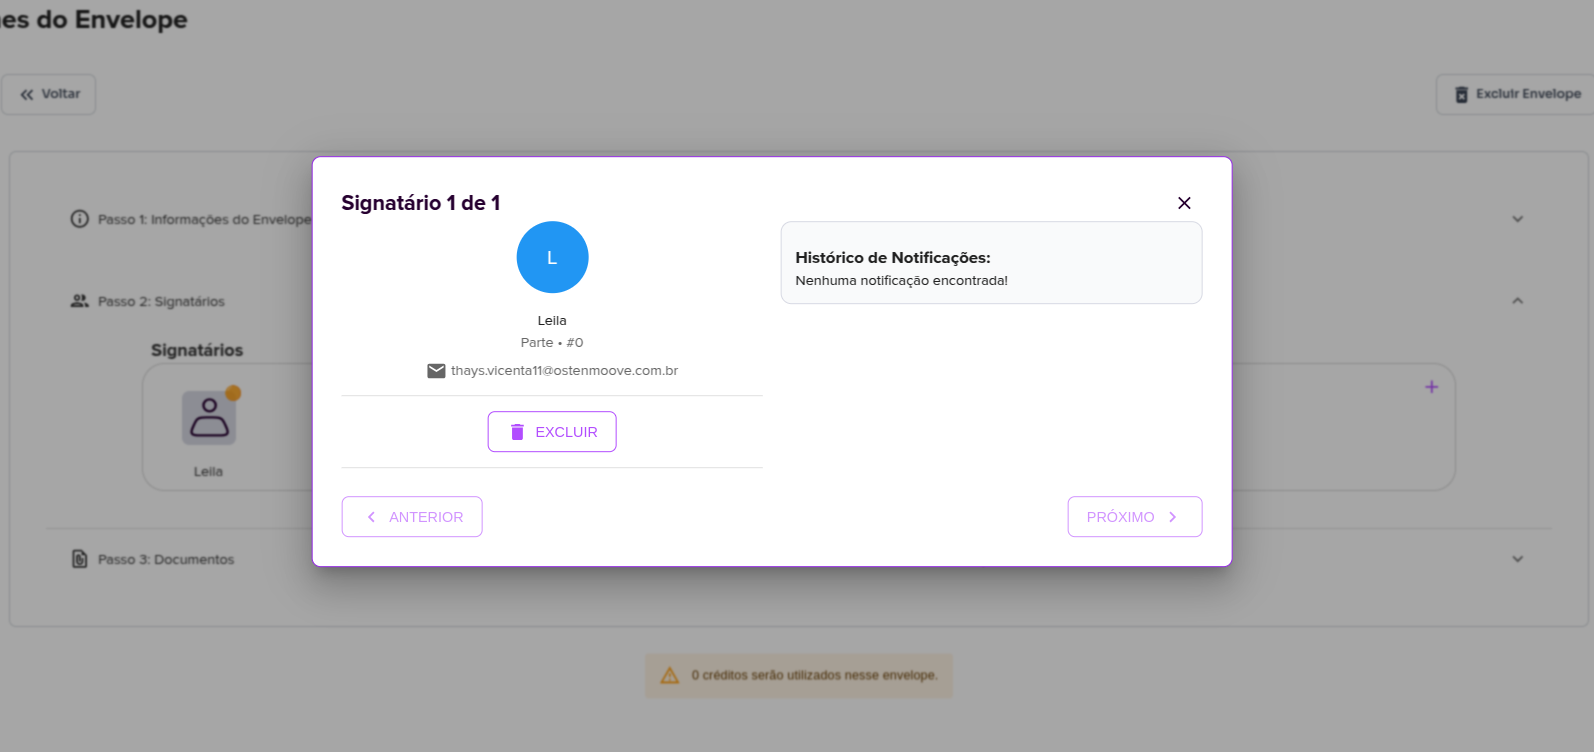
After adding a signatory to the envelope, they will appear with the initial status pending, indicated by an orange dot.
By clicking on the signatory, you can:
- View the information provided
- Remove the signatory
- View the notification history, which shows how many times they have been notified
Note: Until the envelope is sent (sealed), the notification history will be empty.
Add Document
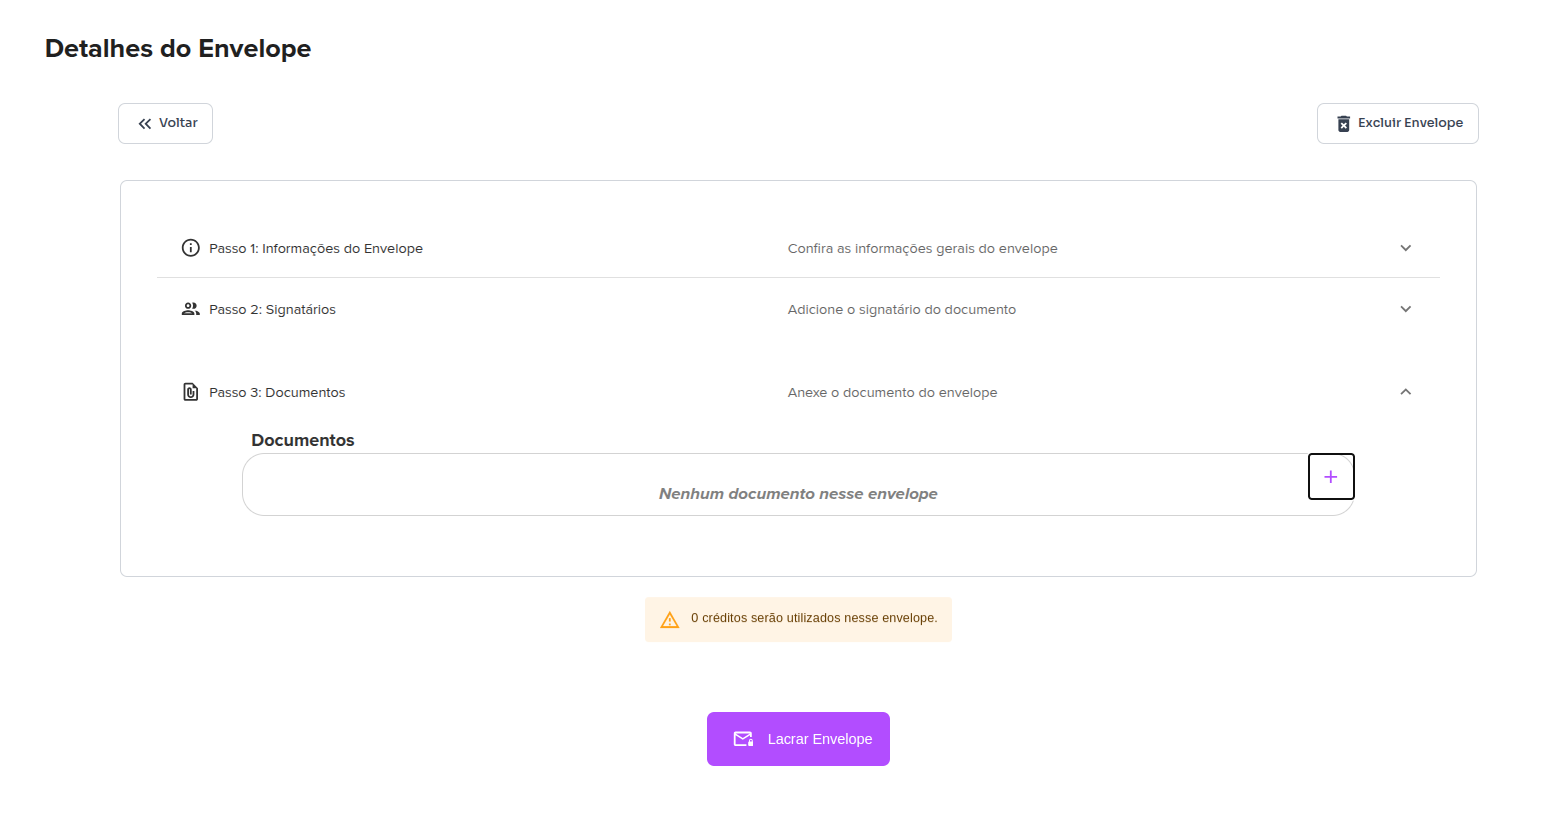
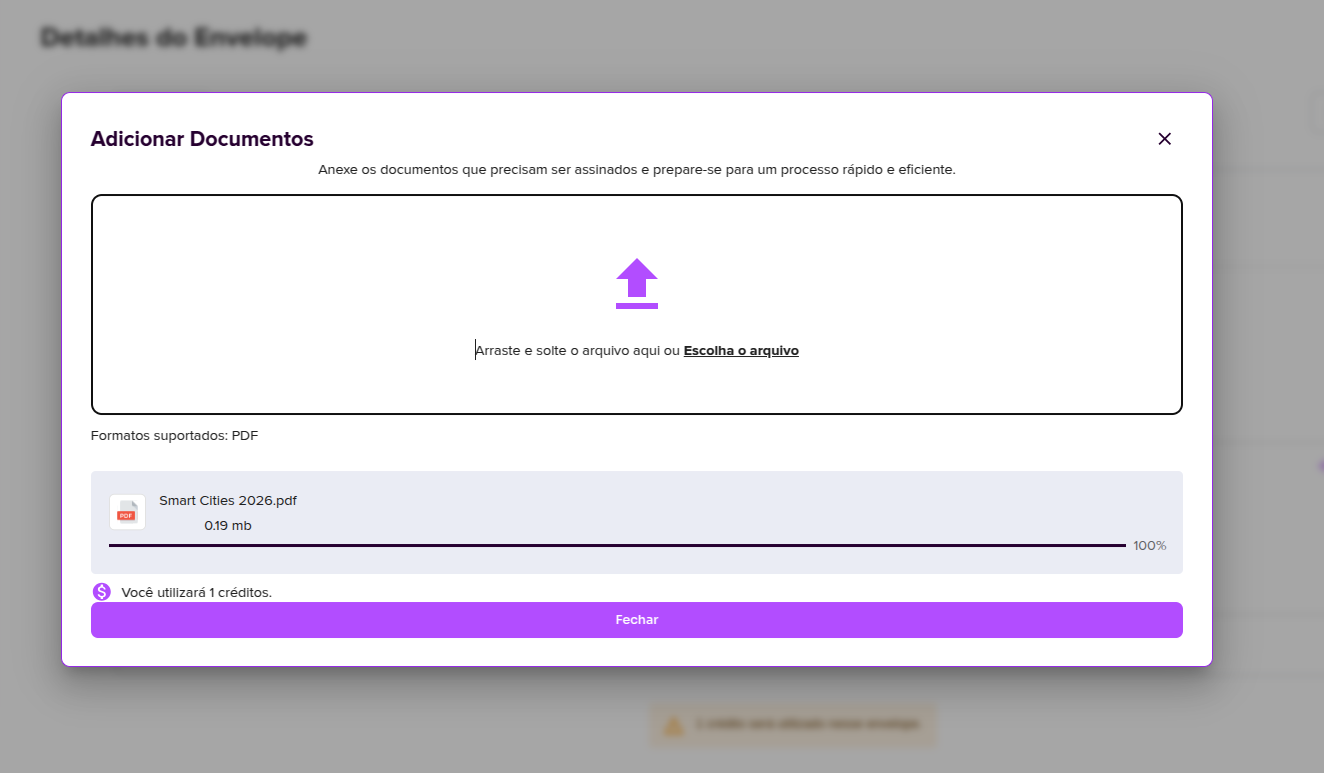
5. To add documents to the envelope, click the “+” on the right side. A form will open to upload the document(s). After adding them, just click close and they will be saved.
Documents must be in PDF format, and you can attach multiple files to the envelope
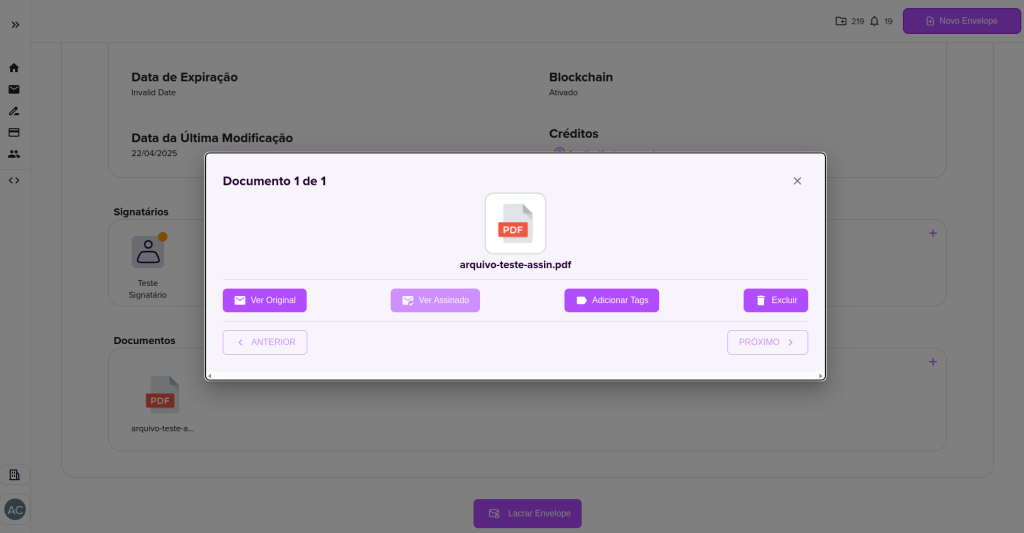
After adding your document, it should appear. Just like with the signer, clicking on it gives you the options to view the document, add tags, and delete it.
Add Tags
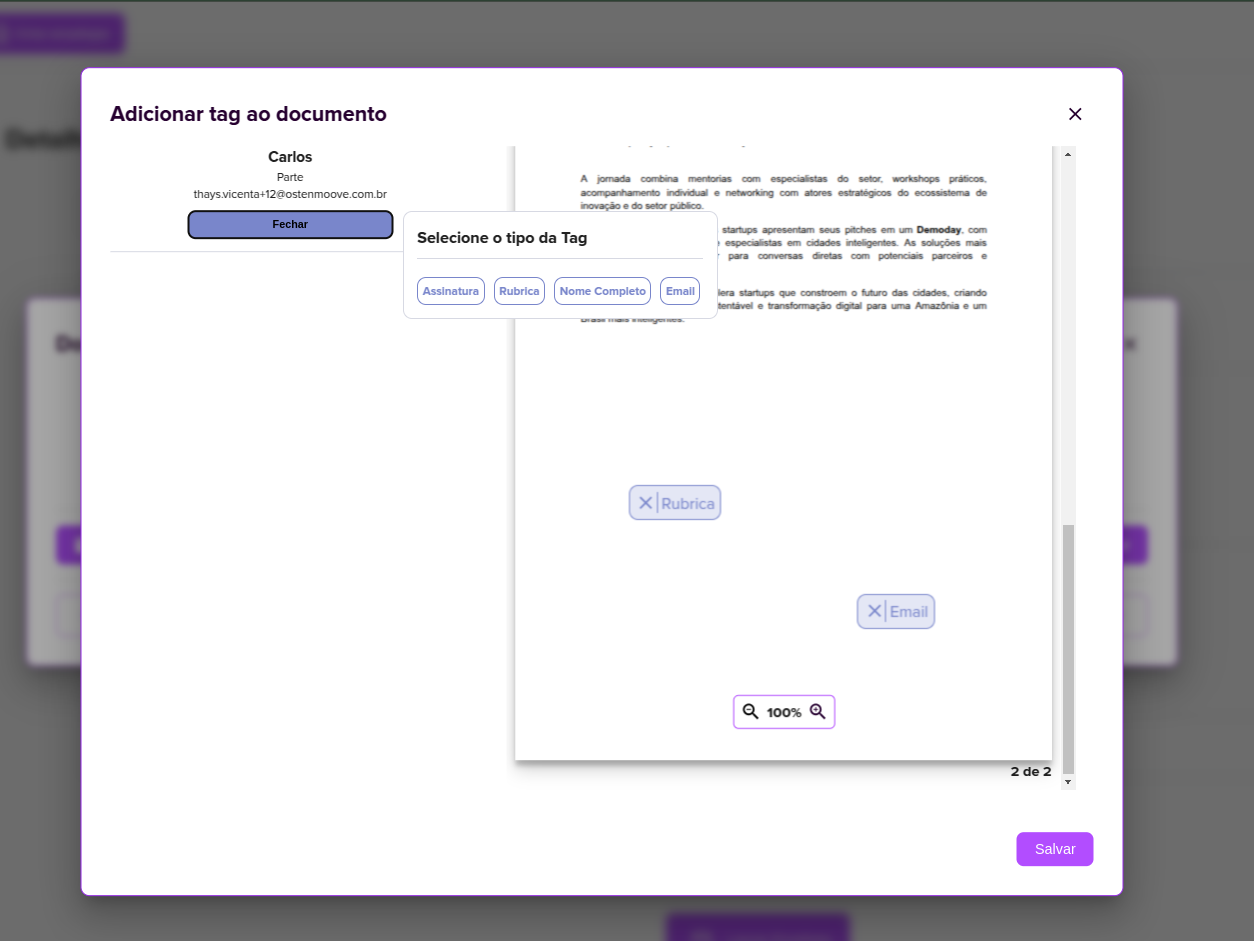
Tags work as fields. By selecting the tag type and clicking on the document, you create the signature fields. Remember to click save before closing.
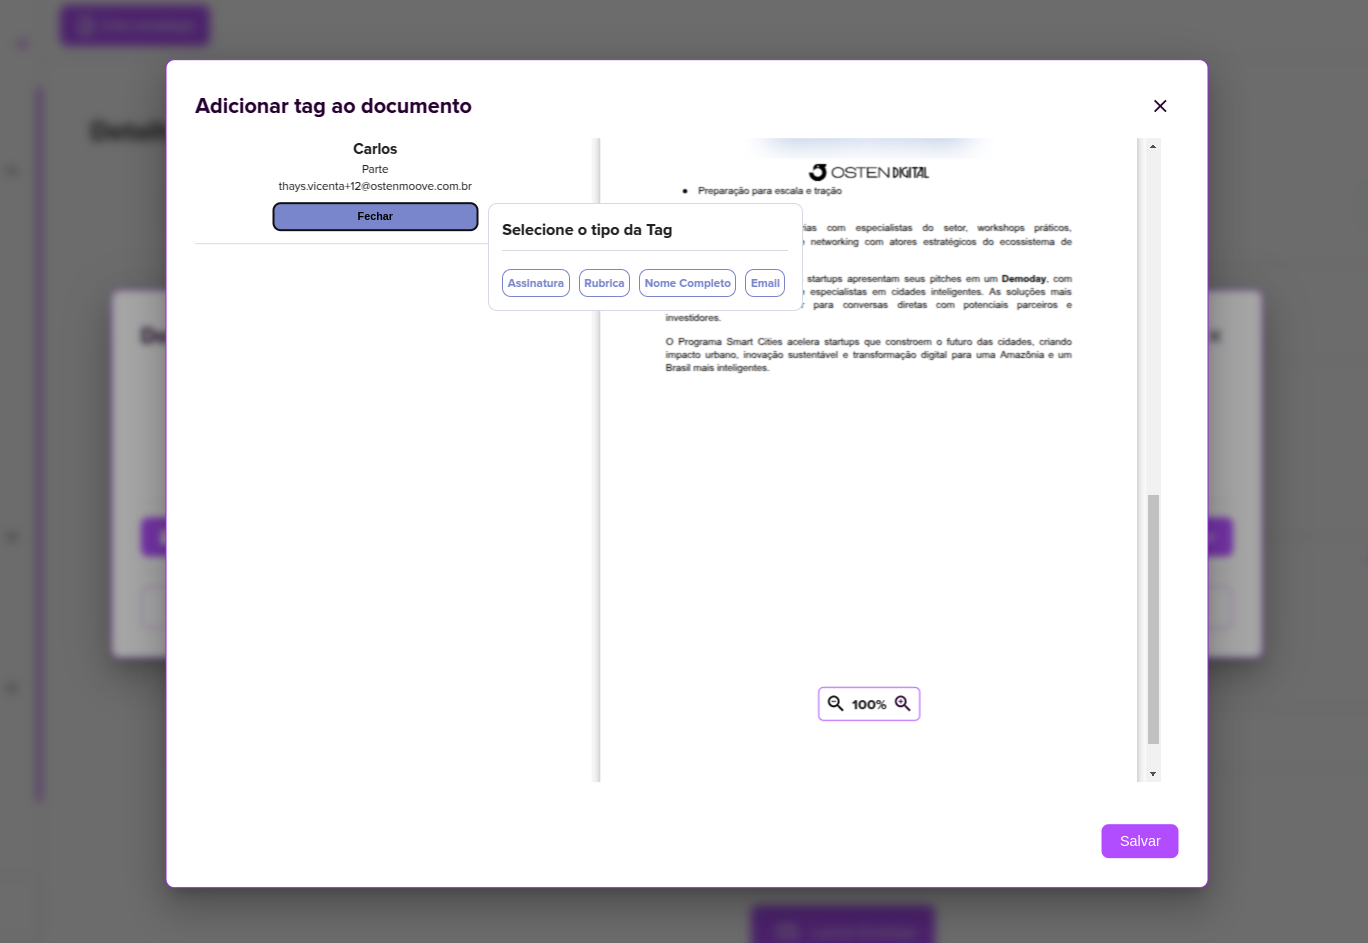
You can add more than one tag per page.
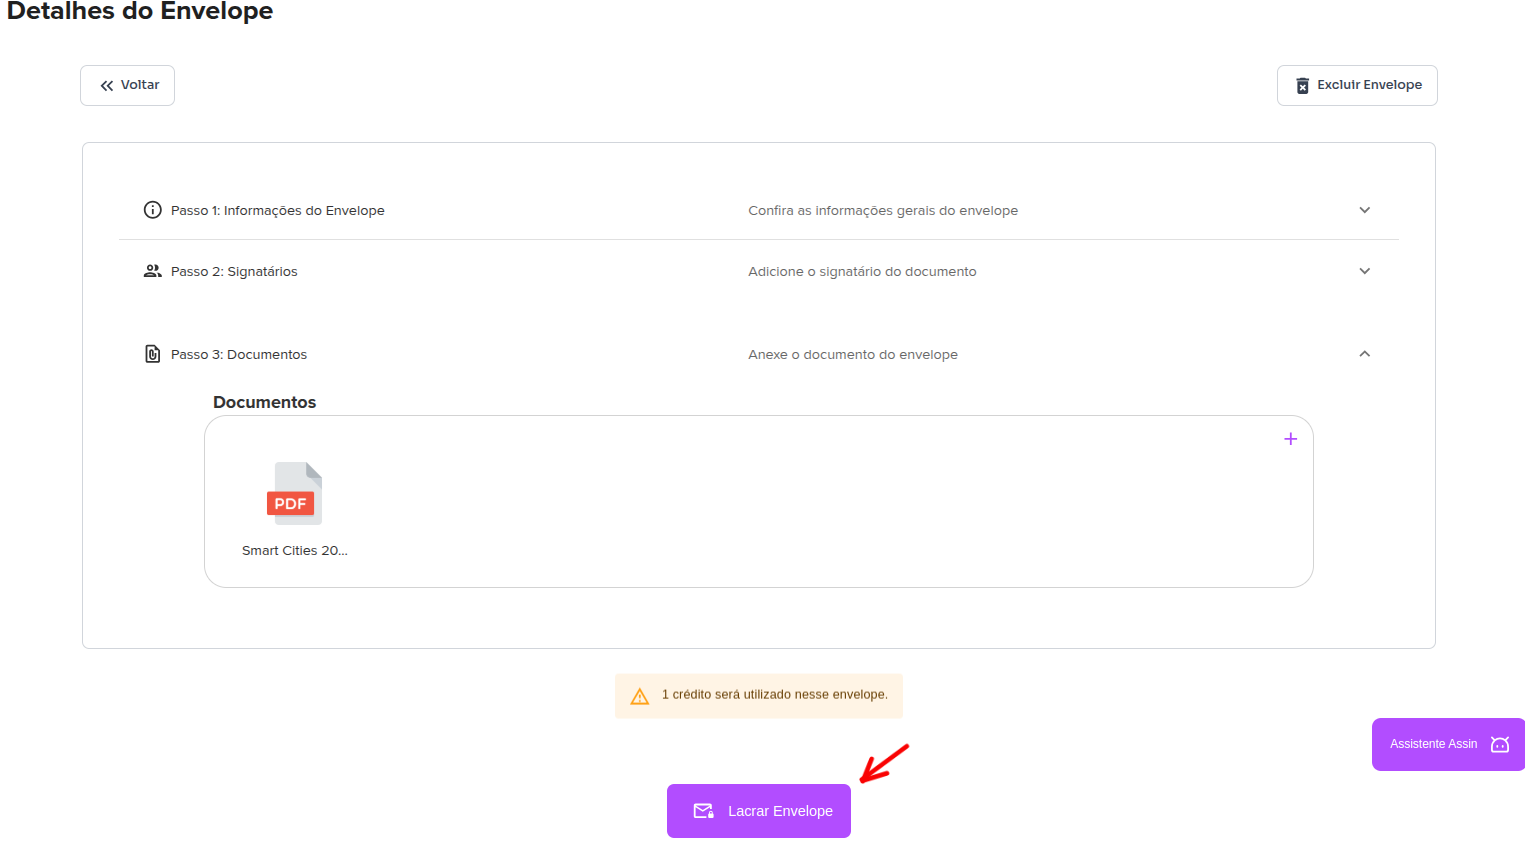
Seal Envelope
6. After filling in all the envelope information, click “Seal envelope” at the bottom of the screen so it can be sent to the signers.
For more information, visit our site https://assin.com.br/
See how simple Assin is?
Assin Digital Signature
Was this article helpful?
Thanks for your feedback!